
There are a number of reasons your Android smartphone can stop functioning properly, part of this is due to the open source nature of the Google-owned operating system. Being open source, it means manufacturers like Samsung or Huawei tweak the system to make their user experience more unique. But such tampering can throw up unpredictable behaviour and incompatibilities with third party apps or system updates.
Android system errors can be wide and varied and can ultimately result in your phone becoming bricked or unresponsive. The question is, how do you go about fixing these issues without forking out a fortune to a diagnostic centre or worse, accepting the issues and defaulting to buying yourself a new device?
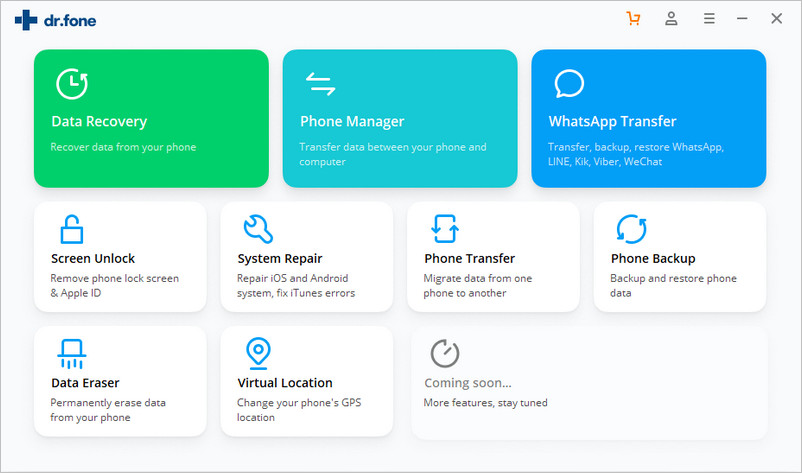
Perhaps a lesser known solution to fixing a whole array of common Android system errors is to use a PC software application called Dr.Fone – Repair. The application can be downloaded to your personal or work computer and in just a couple of clicks, it can diagnose and fix a whole list of common Android issues, not limited to:
Black screen of death
Play Store not working
Android won’t turn on or off
Apps keep crashing
Android OTA update failed
Stuck in boot loop
Android system UI not working
Android phone or tablet gets bricked
The software comes at a small cost compared to paying a repair centre or buying a new phone, and from our experience, it has a very high success rate for running firmware and restoring your phone to full functionality. Here we’ll run through the steps for restoring your phone with Dr.Fone – Repair.
Firstly, you’ll need the following four components:
1. Your current phone
2. A laptop or PC
3. A USB to smartphone cable
4. You’ll need to download Dr.Fone – Repair and install it on your PC.
Step 1. Launch System Repair Software
Launch Dr.Fone on your computer, and select “System Repair“.
Step 2. Connect Your Smartphone Via USB
Connect your Android phone or tablet to the computer with a USB cable. Click the “Android Repair” among the 3 options.

In the device information screen, select the correct brand, name, model, country/region, and carrier details. Then confirm the warning and click “Next”. The Android repair may erase all data on your device. Type in “000000” to confirm and proceed. Note: It is highly recommended that you backup your Android data before opting for Android repair.

Step 3. Repair the Android device in Download mode
Before your Android device can be repaired, it is necessary to boot your device in Download mode. Follow the steps below to boot your Android phone or tablet in DFU mode.
For a device with Home button:
1. Power off the phone or tablet.
2. Press and hold the Volume Down, Home, and Power buttons for 5s to 10s.
3. Release all the buttons, and press the Volume Up button to enter the 4. Download mode.

For a device with no Home button:
1. Power off the device.
2. Press and hold the Volume Down, Bixby, and Power buttons for 5s to 10s.
3. Release all the buttons, and press the Volume Up button to enter the Download mode.

Then click “Next” so the program can start downloading the firmware.
Step 4. Firmware Downloaded and Fix Begins
After downloading and verifying the firmware, the program automatically starts repairing your Android device.

Step 5. Android Fixed
Your Android device will have all system issues fixed.

Et Voila, your previously misfiring Android device is back to normal! Feel free to let us know how you got on in the comments and if there is anything you’d like to share with us or other visitors to AndroidPCSuite.com.