Android contents such as your messages, photos, contacts and videos are well and good on your phone, but what happens if you wish to display these items, search for files or delete them on the big screen?
To date, Android file explorers have been somewhat limited and don’t enable visual access to folders and files as easily or as quickly as some may like.
Also, flicking through the various apps on your device and even bumbling through your file manager can be a cumbersome process.
Fortunately, there is a widely popular and effective solution for better managing your device contents via your PC – it’s called Dr.Fone – Phone Manager.
In this article we’ll show you how to use the programme in a step by step guide. Firstly though, let’s introduce you to the software.
![]()
![]()
Features of Dr.Fone – Phone Manager
Simple and fast data transfer between Android and Computer
Selectively transfer files between your Android smartphone, PC or Mac. Dr.Fone – Phone Manager is a great solution for freeing up Android storage and makes backing up heavy files (such as photos and videos) a simple, visual process.
This Android PC Suite supports Windows, Mac and even works seamlessly with iTunes, so if backing up media files is important then this software is for you.
Securely transfer multiple file formats
Supported files types that can be transferred and managed via the desktop application include: photos, videos, music, contacts, messages, documents and more.
With the Android file transfer tool, it’s just a 3-step process to transfer from Android to computer, or computer to Android. Your personal info is protected with advanced encryption during the transfer. Nobody but you can access what you’ve transferred, which makes this even safer than using cloud backup solutions.
Transfer Data from 8000+ Android Devices
This software has been rigorously tested with 1000’s of Android smartphones and now supports successful data transfer for more than 8,000 models. All major Android smartphone brands are supported and the list of compatible devices grows on a daily basis.
OK, that’s the software. Let’s show you step by step how it works:
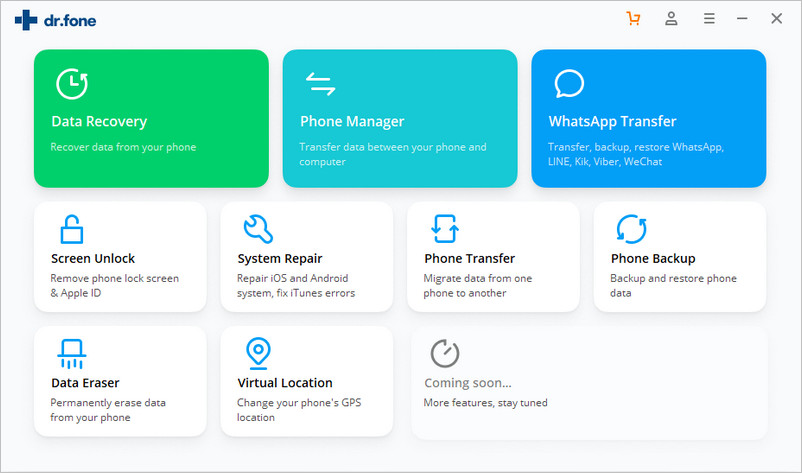
Step 1. Launch Dr.Fone – Phone Manager Software
Launch Dr.Fone on your computer, and select “Phone Manager”.
Step 2. Connect Your Android Smartphone
Launch Dr.Fone and connect your Android phone or tablet to PC using a USB cable. Your Android device will be recognized and displayed in the primary window.
![]()
![]()
Step 3. Transfer Photos and Files Accordingly
Use the on-screen options to select files you wish to transfer to your PC. Export to PC all at once or selectively. Likewise, import to your smartphone from your PC file by file or all at once. File types present different on-screen options for managing the information available on your device.
![]()
![]()
That’s Dr.Fone Phone Manager in a nutshell, a really simple and intuitive piece of software which allows you to manage files on your PC perfectly. You can download the software using one of the links below.